Table of contents
Open Table of contents
Introduction
Django is a high-level Python web framework that encourages rapid development and clean, pragmatic design. Built by experienced developers, it takes care of much of the hassle of web development, so you can focus on writing your app without needing to reinvent the wheel. It is free and open source. Django is ridiculously fast, secure, and scalable. Read more…
Supabase is often termed as an opne-source Firebase alternative. Supabase provides a PostgreSQL database, authentication, instant APIs, and real-time subscriptions, making it an excellent backend solution for Django developers. In this guide, we’ll walk through the integration process using best practices in Django.
Why I think Supabase is the Best for Django
-
PostgreSQL Database
Supabase is built on PostgreSQL, which Django natively supports. This makes it easy to integrate Supabase’s database into your Django project. -
Authentication
Supabase provides built-in authentication with email/password, social logins, and magic links, eliminating the need to set up your own authentication system. -
Instant APIs
Supabase automatically generates RESTful APIs for your database tables, complementing Django’s ORM for frontend-heavy applications. -
Real-Time Functionality
Supabase offers real-time subscriptions, which Django lacks out of the box. This is perfect for building real-time features like chat apps or live notifications. -
Scalability
Supabase is designed to scale effortlessly, making it ideal for Django applications that need to handle growing traffic and data.
Prerequisites
One would ask, is there any prerequisites? Ofcourse, there is.
- Python 3.x installed
- Django installed (
pip install django) - A Supabase account (sign up at supabase.io)
psycopg2anddj-database-urlfor environment variable management (pip install psycopg2 dj-database-url)supabase-pyfor interacting with Supabase (pip install supabase)
Step 1: Setting Up Your Django Project
- Create a New Django Project
django-admin startproject myproject
cd myproject- Create a New Django App
python manage.py startapp myapp- Add the App to INSTALLED_APPS
In
myproject/settings.py, add myapp to the INSTALLED_APPS list:
INSTALLED_APPS = [
    ...
    'myapp',
]
Step 2: Setting Up Supabase
-
Create a New Project in Supabase:
-
Log in to your Supabase dashboard.
-
Click on ‘New Project.’
-
Fill in the project details and wait for the database to be provisioned.
-
Click on
connectto get your database uri or see db config details.
-
-
Get Your
Project URLandAPI Key:-
Navigate to the “Settings” section in your Supabase dashboard.
-
Under the “API” tab, find your
Project URLand anon (public) key.
-
Step 3: envuring Django to Use Supabase
- Use Environment Variables for Sensitive Data
- Create a
.envfile in the root of your Django project:
SUPABASE_URL=your-supabase-project-url
SUPABASE_KEY=your-supabase-anon-key
DATABASE_URI=database-uri- Update myproject/settings.py to load these variables:
import environ
import dj_database_url

env = environ.Env()
environ.Env.read_env()

DATABASES = {
    'default': dj_database_url.config(default=env('DATABASE_URI'))
}

SUPABASE_URL = env('SUPABASE_URL')
SUPABASE_KEY = env('SUPABASE_KEY')- Install the Supabase Client Library
pip install supabaseStep 4: Using Supabase in Your Django App
- Create a Supabase Table
- In the Supabase dashboard, go to the “Table Editor.”
- Create a new table, for our case, todos, with columns:
- id (UUID, primary key)
- task (text)
- completed (boolean)
- created_at (DateTime)
- updated_at (DateTime)
- Fetching Data from Supabase in Django
- We create a service layer to handle Supabase interactions. ~
myapp/services/supabase_service.py:
from supabase import create_client, Client
from django.conf import settings

def get_supabase_client() -> Client:
    return create_client(settings.SUPABASE_URL, settings.SUPABASE_KEY)

def fetch_todos():
    supabase = get_supabase_client()
    response = supabase.table('todos').select("*").execute()
return response.data- Create a View to Fetch and Display Data ~ views
- In
myapp/views.py, use the service layer to fetch data:
from django.shortcuts import render
from .services.supabase_service import fetch_todos

def todo_list(request):
    todos = fetch_todos()
return render(request, 'myapp/todo_list.html', {'todos': todos})- Create a Template to Display the Data
- Create a template
myapp/templates/myapp/todo_list.html:
<h1>Todo List</h1>
<ul>
  {% for todo in todos %}
  <li>
    {{ todo.task }} - {% if todo.completed %}Done{% else %}Not Done{% endif %}
  </li>
  {% endfor %}
</ul>- Set Up URLs
- In
myapp/urls.py, define the URL pattern for the todo_list view:
from django.urls import path
from . import views

urlpatterns = [
    path('todos/', views.todo_list, name='todo_list'),
]- Include the app’s URLs in the project’s
myproject/urls.py:
from django.contrib import admin
from django.urls import include, path

urlpatterns = [
    path('admin/', admin.site.urls),
    path('', include('myapp.urls')),
]
Step 5: Making migrations
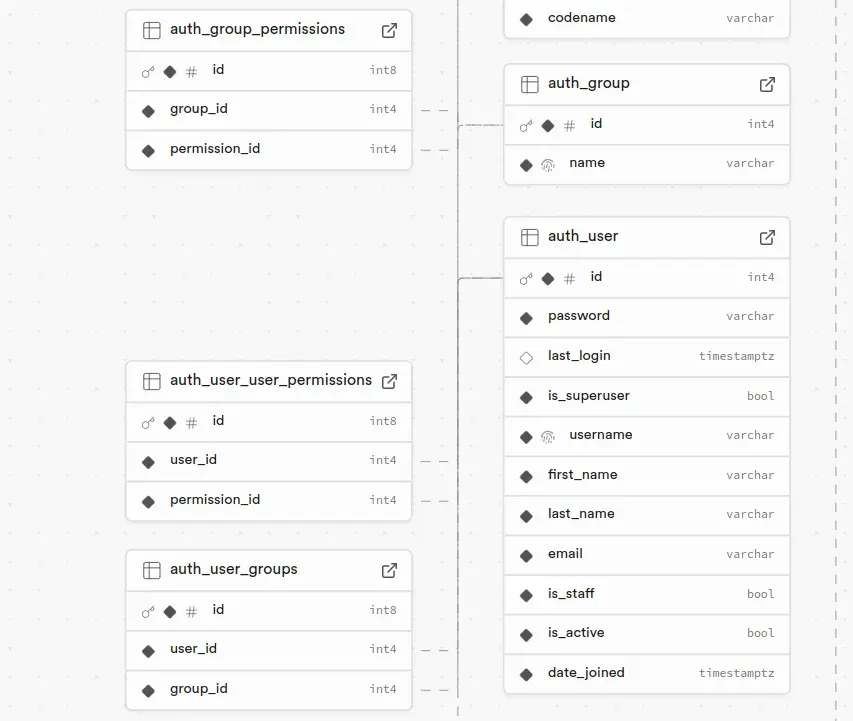
- Run migrations
python migrate
Step 5: Running Your Django Server
- Run the Django development server:
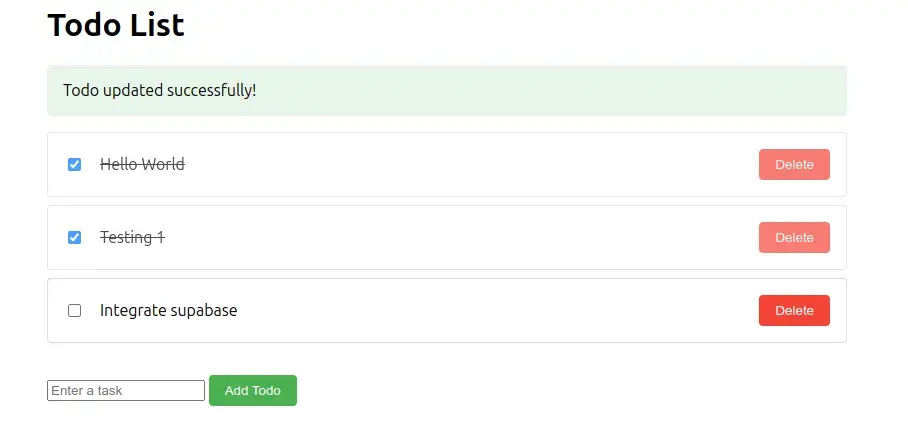
python manage.py runserver- You can access your site on
http://127.0.0.1:8000/todos/
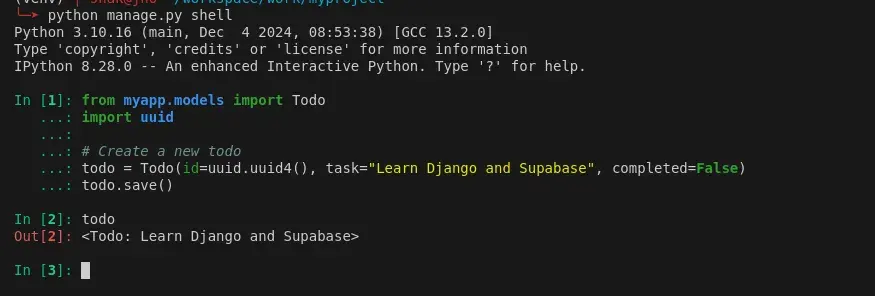
You can as well django shell to interact with your models.
python manage.py shell
Conclusion

You just did it buddy!